Note: Please read the article carefully before proceeding! If in the process of using you encounter any errors, such as broken download links, slow loading blog, or not being able to access a certain page on the blog … then please inform me through the Contact page. Thanks!
Font is a very important component in any operating system, it will directly affect our daily work, especially brothers working on graphic design, writing things …
Even a guy who only uses Photoshop to edit basic photos like himself, or just uses Premier to create funny videos must also install a lot of external fonts to meet the needs of using, not to mention the users who are professional designers.
Most users today mostly use Windows and MacOS, a few are on Linux. However, the default number of fonts on these operating systems is quite small, if not too little, like on macOS.
That's why in the article below, I will guide you in detail how Install Font on macOS by using Font Book!
Read more:
I. Talk a bit about software Font Book
// You can use Fonts on Windows to install on macOS normally. So you can go to the Fonts section to select the fonts you like to download!
If on Windows 10 in particular and Windows operating systems in general, we can use Control Panel or Windows Settings to manage installed fonts, on Apple Macbook is more thoughtful when giving us a piece of software to do that, it's called Font Book.
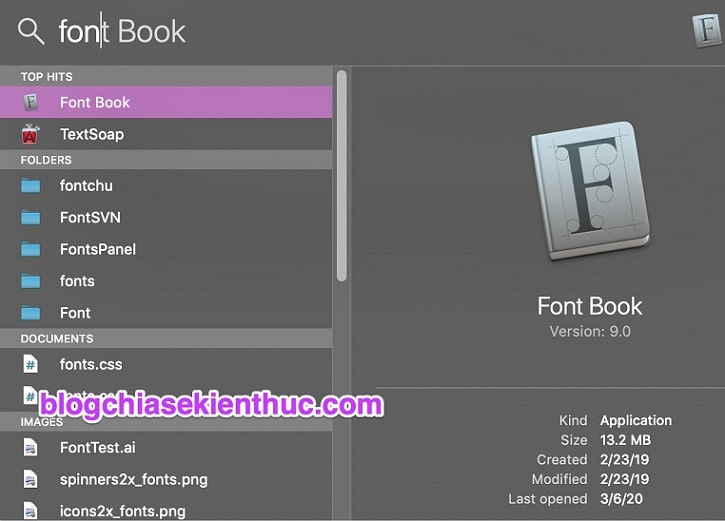
You can open it up from Launchpad in the Dock, or search for keywords Font in Search Spotlight like me below!
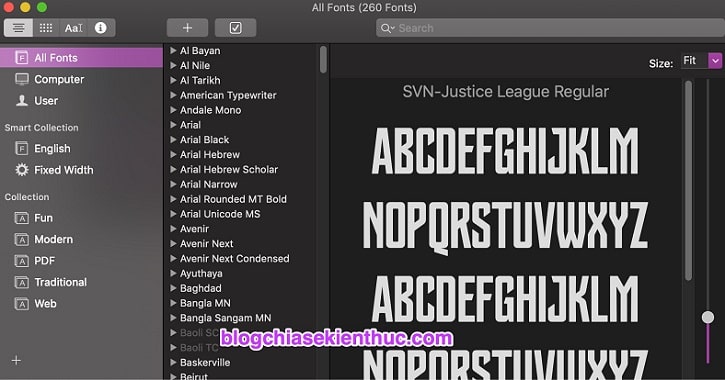
The interface of this software is quite simple, it is divided into 3 main columns as shown in the image below. The outermost column on the left will help you categorize fonts into styles such as:
- System default font (Computer)
- The font we installed added (User)
This classification makes it easier to manage and search fonts, you can also create your own font category by clicking on the + in the lower left corner of the window.
- The middle column will display the fonts included in the font type you selected in the first column.
- And finally, the column on the right is for displaying the example text for the font style you have chosen. Like the Preview mode to preview that Font.
In general, there is nothing too special to tell, so I'll go straight to the font installation guide too!
II. Install Fonts for macOS using Font Book software
Just like on Windows, we have a lot of ways to install external fonts on Macbook, you can explore some of the following simplest ways:
#first. Install a small number of fonts, install one font at a time
Only use this method when the amount of font you want to install is not much, about 5 to 10 only.
There are a few dozen fonts that you use this way, it's really tired.: D. Oke, this way is no different from installing fonts on Windows 10 that Admin had previous instructions.
Perform: For the first installation you need a font file with formatting *.TTF (TrueType Font) => then double click on the file .TTF to open it with the default tool is Font Book above.
Immediately the Font Book window appears allowing us to preview how this font will display, text Regular The above is to indicate that this font is only in lower case and not Bold good Italic nothing.
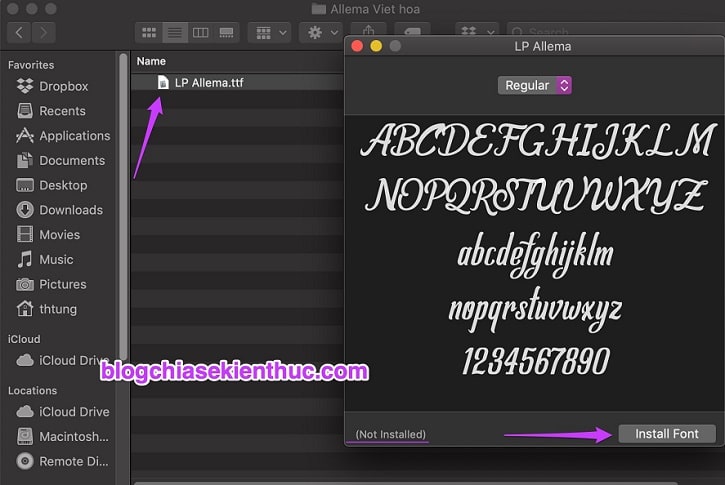
Word (Not Installed) tells us that the font you are viewing is not available on your computer, so that we do not have the same font already installed.
And finally, if you like the font => click Install to install just like on Windows 10, nothing else.
// *Read more*//
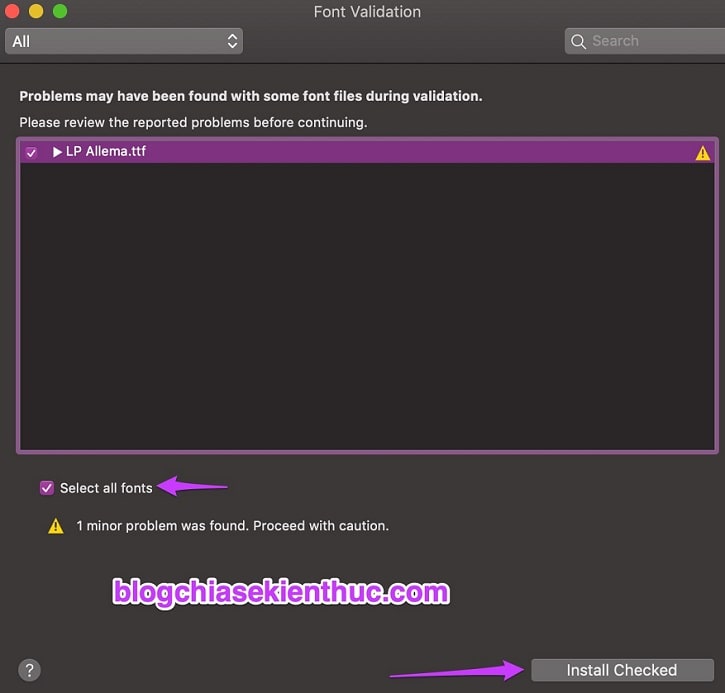
Installing fonts on macOS will occasionally come up with an error window when checking the selected font, but don't worry, it's no big deal.
These messages often appear when you install Vietnamese localized fonts, for example, I am installing LP Allema Vietnameseized fonts on it, I do not understand why, some foreign fonts also encounter the same error.
When you see the error below, press Select all fonts => and then press Install Checked is it, that font has been installed on your Mac.
// * End of Read more * //
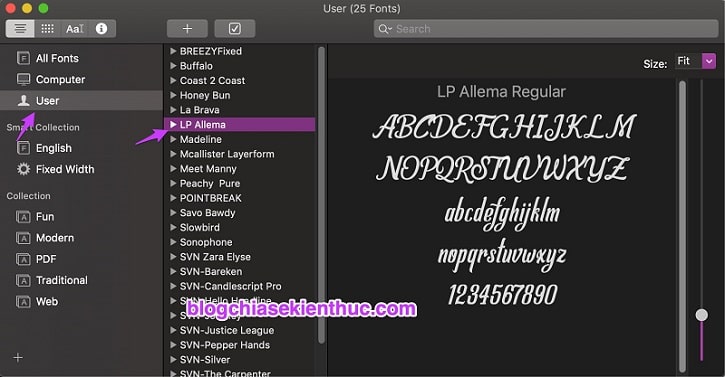
That's it, the font has been added to the system, you will find it in the font type is User because most of the font we installed outside are just in here.
Maybe you do not know TrueType Font or TTF is a font standard created by the creator of macOS and iOS – Apple – in 1980 to compete directly with Adobe's Type 1 rival, and so far it has become the type The most popular font on macOS, Linux, and of course, Microsoft Windows.
#2. Install multiple fonts on macOS at the same time with Font Book
+ Step 1: This will be an option when you have many fonts to install, but do not want to use the above method because it is extremely time-consuming and also very easy to install the same font because they are too many.
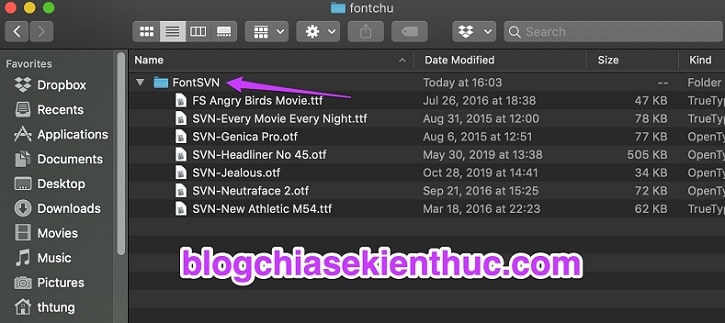
So stripping when you do, I recommend that you gather all the fonts you need to install into a separate folder like me to make installation easier!
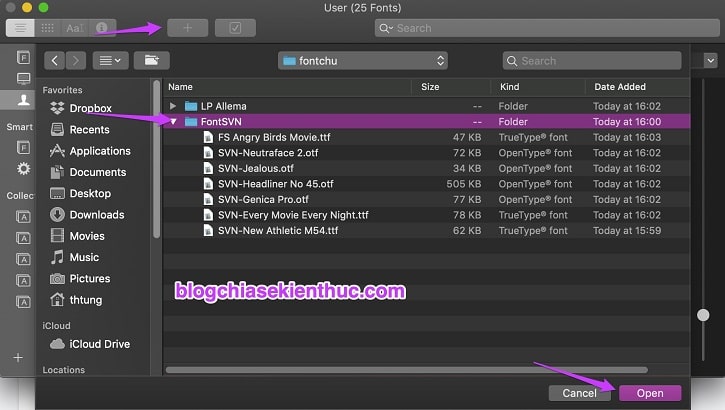
+ Step 2: Now open the Font Book application as shown Cách #1 above => then click on the sign + on the toolbar then use Finder to navigate to the directory containing the font prepared in Step 1.
Here I put the Fonts I want to install into the folder FontSVN so I will navigate to this FontSVN folder => and press Open come on.
+ Step 3: Immediately, the application Font Book will automatically retrieve, test and install all the fonts that you put in the selected folder on the computer.
If you have many fonts in different folders, also select multiple folders at once => and then press Open is done.
Note: If there is an error Font Validation then you also handle by selecting Select all fonts And finally click Install Checked just like above!
# 3. How to turn off fonts, remove fonts and restore fonts on macOS
The more fonts you install on your Macbook, the higher the conflict during use will be. If you know exactly which font causes the error, you can choose to delete or disable it temporarily.
To do so, first open the Font Book app => and right click on the font that you think is the cause of the error.
In the right-click menu that appears, you will immediately see 2 options:
- Disable “Ten Font” Family – Turn off certain fonts.
- Remove the “Ten Font” Family – Delete certain fonts completely from your device.
The two options that I draw the golden arrow all have the same function as Tắt tạm thời font đã chọn dentist.
In addition, normally all the lines in this right-click menu will light up for us to choose, but I don't understand why when I took the screenshot it went black like that, tried it 3 times and it still looks like @@

And when you have too many fonts installed, take care of fonts already, then finding the error-causing font is very difficult.
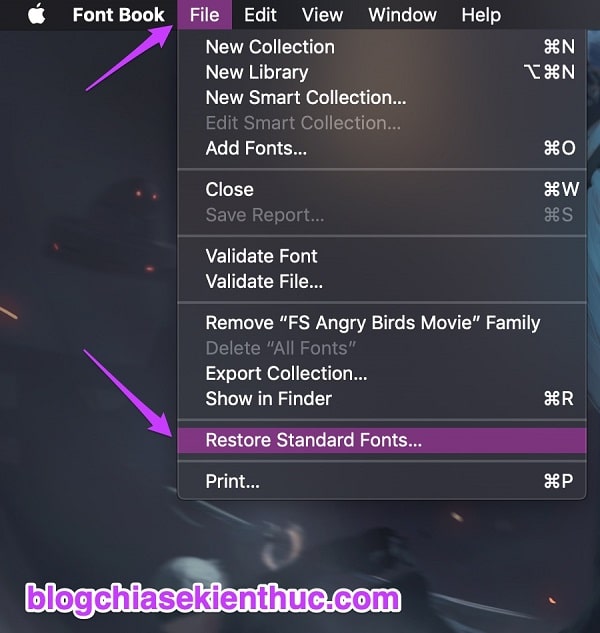
In this case, you should consider resetting all fonts to macOS system default, but note that once reset, all fonts that are not included with macOS will be deleted and cannot be restored. OK.
How to reset the font to the default as follows: Open Font Book => and then click File on the Menu bar => and finally select Restore Standard Fonts is done ..
III. Epilogue
Above is his detailed tutorial about How to install fonts on a Macbook, as well as How to remove fonts on MacOS.
If you have a beautiful Viet Hoa font set, you can share it with yourself like other brothers by leaving a comment below. Hopefully this article will be of interest to you. Good luck !
CTV: Nguyen Thanh Tung – Blogchiasekienthuc.com
Note: Was this article helpful to you? Do not forget to rate the article, like and share it with your friends and relatives!